Sheriff "SAO" Standalone Build Guide

Howdy! I reckon you want to fix yourself up your new Sheriff badge to be standalone and wearable. Well, you've come to the right place! Follow these easy steps to make your Sheriff Badge a whole lot more interesting!
Oh! And if yo also have a Gunslinger-B-Gone badge, this guide will also show you the right way to attach the SAO connector!
- Jeff "BigTaro"
Getting Started
Whats included?
* The Sheriff SAO
* A CR2032 and or LIR2032 Battery
* A battery holder with magnet
* A sticky pad
* Bonus: If you also have a Gunslinger-B-Gone badge, there will be a SAO connector as well included with that badge.
What do I need?
* A soldering iron
* A flush wire cutter
* This guide
* That's it!
The Guide
For best results, please read the entire guide first before starting any step!
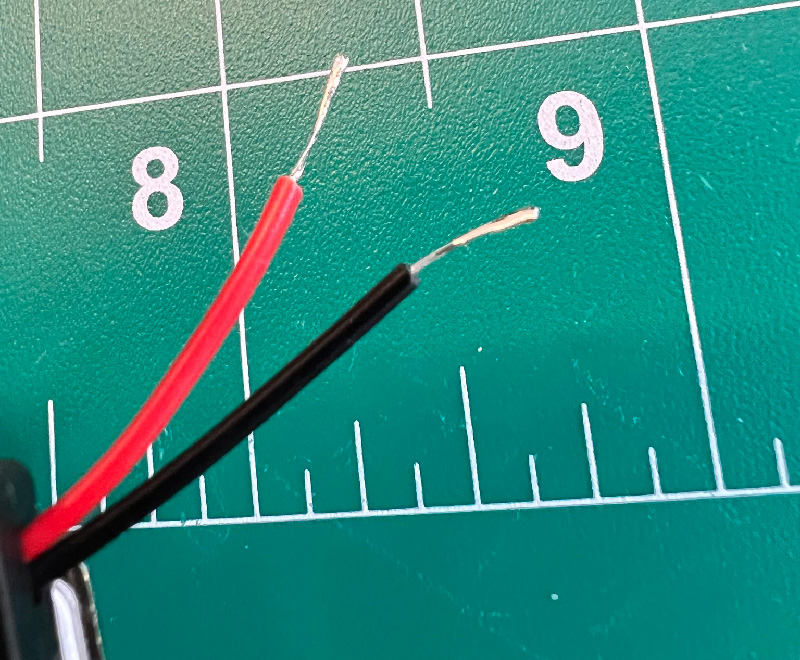
Step 0: Prepare the wires
The red and blck wires on your battery holder contain many strands of smaller wires bundled together. To make this easier to solder, brush the wires upwards and straight, and then twitst them so they form a "single wire".

Next, apply a TINY amount of solder to each wire, so that they are "tinned" and act as a single wire.
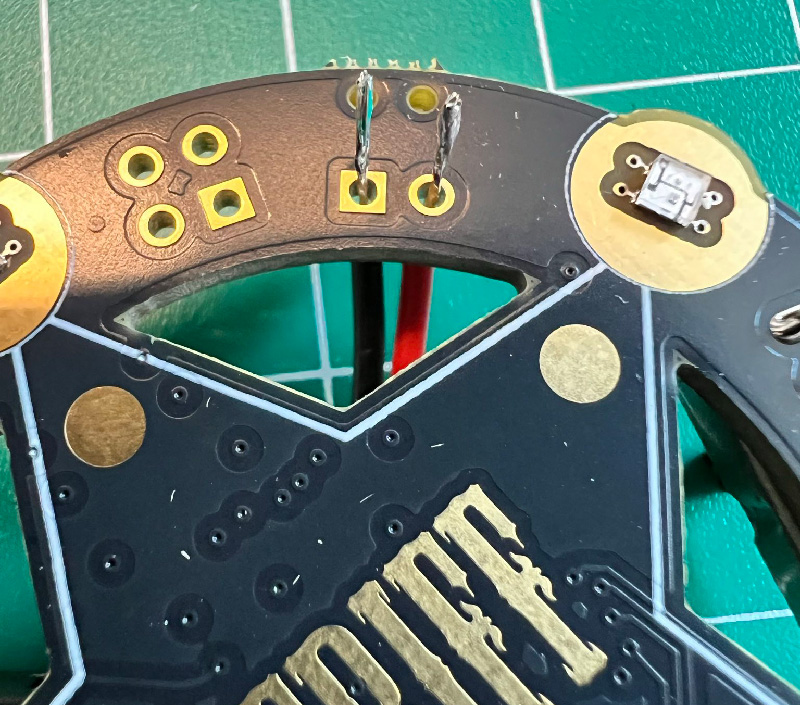
Step 1: Solder the wires
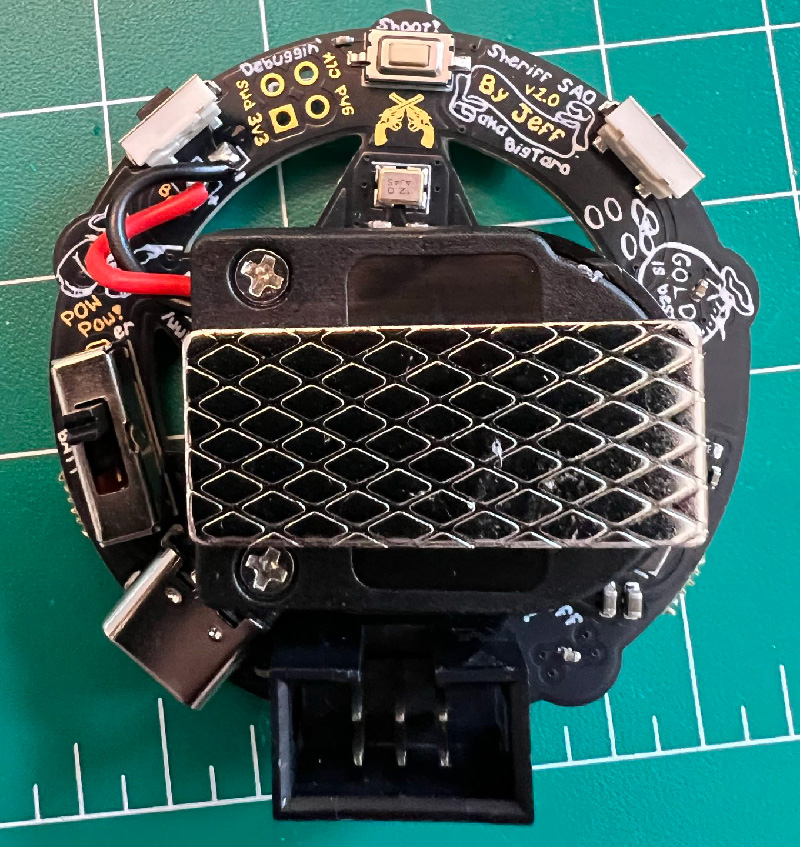
Looking on the backside of the Sheriff SAO, insert the red wire in the positve hole, and the black wire in the negaitve hole on the batt holes directly under the left button. Flip the badge over and solder the wires in place. Trim off any excess wire that sticks out of the front with some flush cutters.
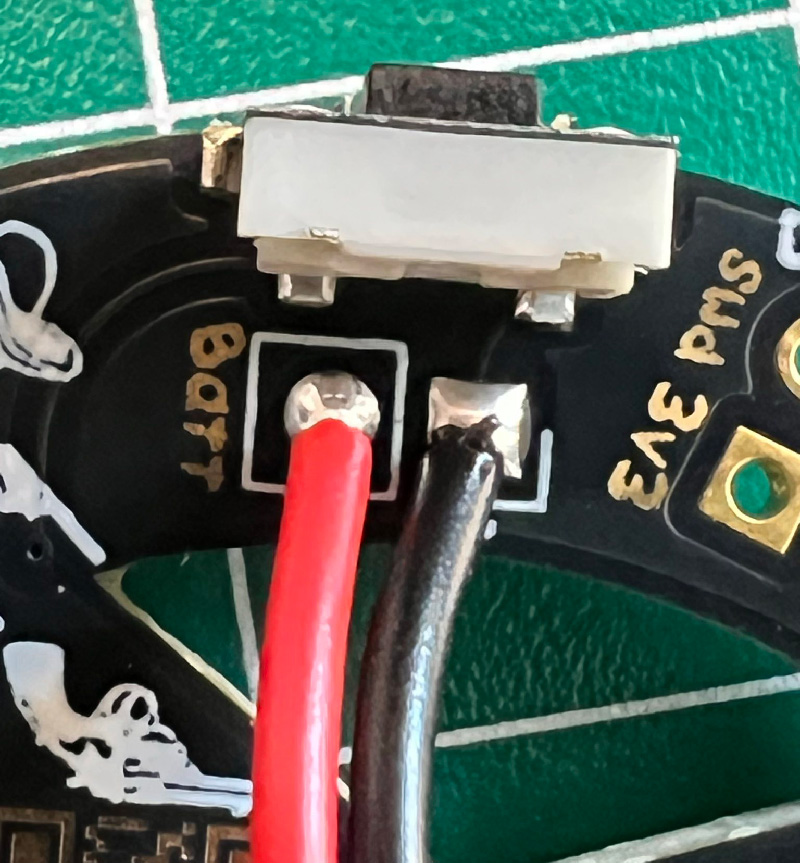
It should look something like this once its done.
Step 2: Insert the battery
Insert the CR2032 battery into the battery holder, and snap it shut. The battery should have positive facing up (towards the opening of the case).
Step 3: Place the sticky pad
Remove one side of the sticky pad and attach it to the back of the rp2040 chip on the board, it should look something like this:
Step 4: Twist and stick the battery holder
Twist the battery holder 180 degrees so that the metal/magnet part is facing you, and stick the holder to the board. Try and align the sticky tape to the part of the holder that opens/closes so you can replace the battery at a later date.
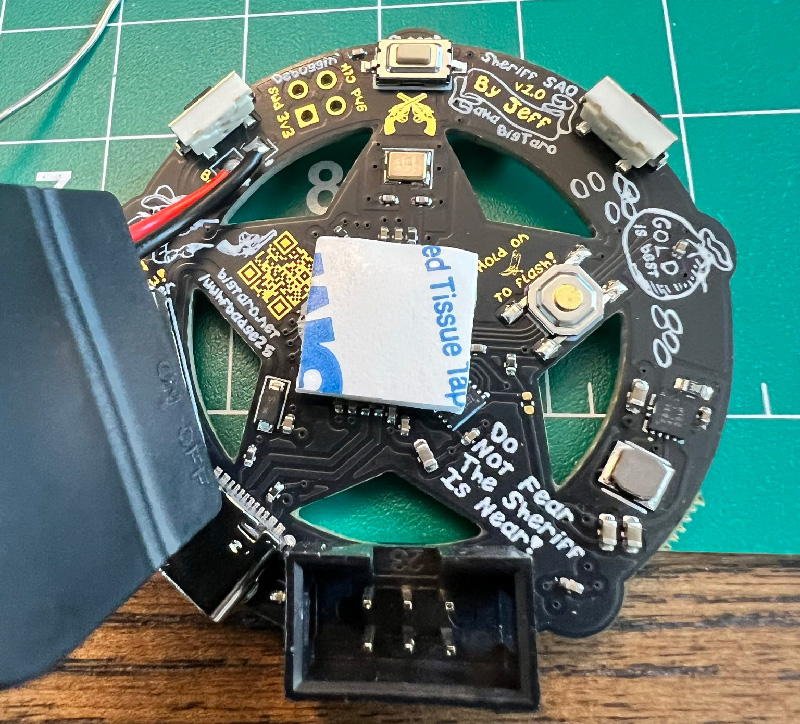
Step 5: Power that thing!
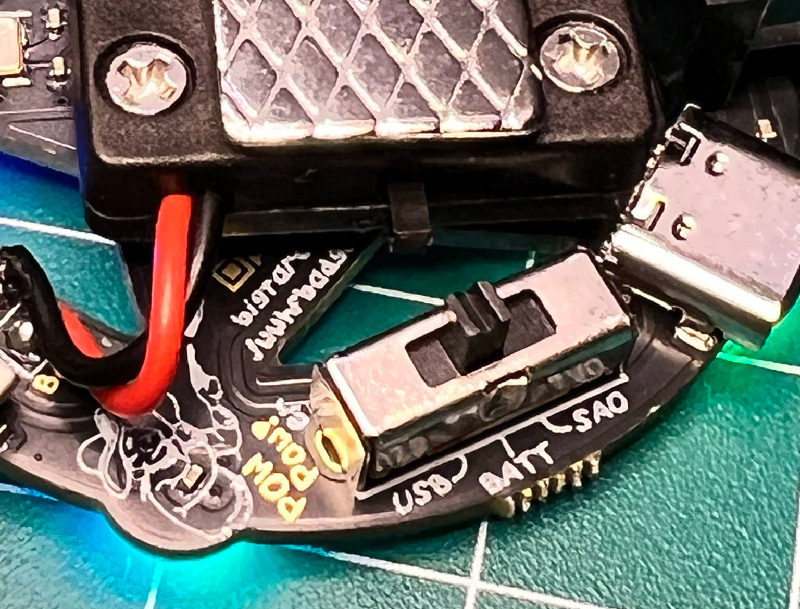
Since the battery holder also has an independent switch, make sure when powering it on, the switch on the battery holder is closest to the middle of the board. Then, switch the badge power to the middle position (batt). It should look something like this.
Step 6: Finished!
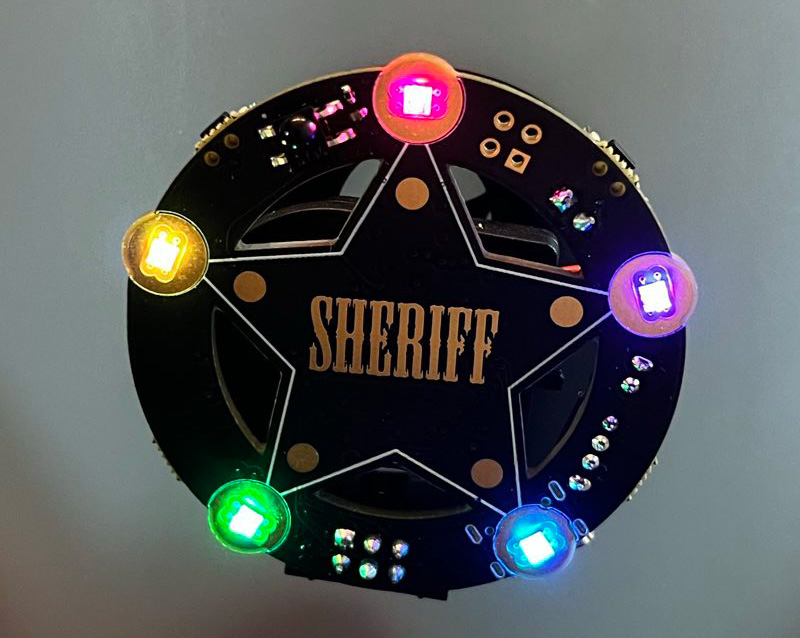
If all goes well it should light up and be ready to used/worn! Place the magnet part under your shirt and stick the Sheriff SAO outside of it.
Step 7: Bonus!
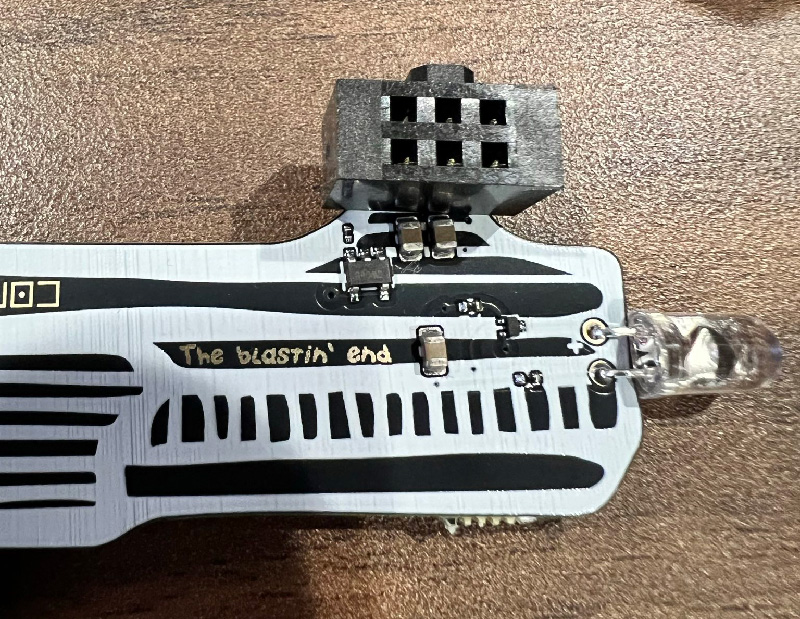
If you also have a Gunslinger-B-Gone badge, and want to attach it, you can solder on the SAO connector to that badge. Make sure the notch side is up! Then slide the Sheriff badge's power to SAO mode.
Step 7: Fin!
Enjoy your new stnadalone Sherrif SAO badge and enjoy shootin' other's badges too! Note: Use a rechargable LIR2032 for longer battery life (badge does not charge the battery).
- Jeff BigTaro