

✦ BIGTARO PRESENTS ✦

THE WORDWEAVING BADGE

MASTER THE ART OF WORDS. CONQUER THE UNKNOWN. SAVE THE UNWRITTEN LANDS!

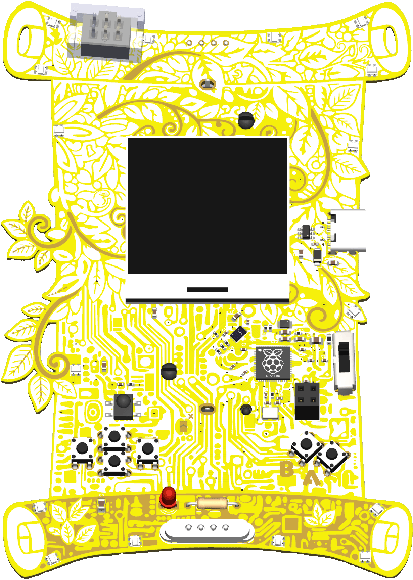
Wordweaving Badge — A golden circuit-board handheld game badge shaped like an ornate scroll
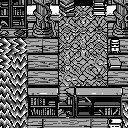
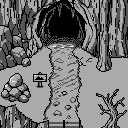
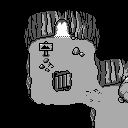
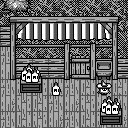
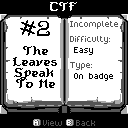
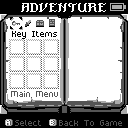
Game screenshot Game screenshot Game screenshot Game screenshot Game screenshot Game screenshot Game screenshot Game screenshot

⬥ GET YOURS ⬥

Ready to weave your destiny? Grab the Wordweaving Badge and join the adventure.

BUY ON UBERFLUX

DEFCON DROP & SHIPPING

BUY ON TINDIE

ONLY SHIPPING POST CON

⬥ FEATURES ⬥

🗡️

TOP-DOWN ADVENTURE

A fully playable top-down adventure game inspired by the original Game Boy classics. Explore, discover, and hack your way through a rich pixel world.

👁️

EPIC BOSS FIGHTS

Battle terrifying eldritch horror-inspired LLMs in epic boss encounters. These aren't ordinary enemies — they think, adapt, and fight back with words.

🚩

30+ CTF CHALLENGES

Over 30 unique capture-the-flag challenges and puzzles embedded throughout the game. Crack codes, exploit systems, and earn your flags.

🔋

RECHARGEABLE BATTERY

Built-in rechargeable LiPo battery for hours of portable hacking. No disposable batteries needed — just charge and play.

UNLOCKABLE BLING

Tons of unlockable LED bling modes. Solve challenges to light up your badge with dazzling patterns and animations. Show off your progress!

🔗

MULTIPLAYER

Link up with friends and fellow hackers! Multiplayer support lets you team up, and master the art of wordsmithing together.

⬥ GALLERY ⬥

⬥ BADGE SPECS ⬥

TYPE INTERACTIVE CTF BADGE
GAME TOP-DOWN ADVENTURE RPG
CHALLENGES 30+ CTF PUZZLES
PROCESSOR RP2350
DISPLAY 128x128 OLED SCREEN
POWER RECHARGEABLE LIPO BATTERY
BLING DOZENS OF UNLOCKABLE LED MODES
MULTIPLAYER LINK-UP TO 50 BADGES TO FORM EPIC CHAINS
BOSSES ELDRITCH LLM HORRORS

⬥ SOLDERING GUIDE ⬥

POWER UP YOUR BADGE

Complete your badge hardware by soldering 2 components and a jumper pad located at the bottom front of the badge. Soldering these parts completes the circuit, enables Laser Tag battle mode, and unlocks one of the on-badge CTF challenges!

Pro Tip: Please read through the entire soldering guide before getting started!
STEP 0 • SAFETY FIRST

POWER OFF YOUR BADGE!

Set the 3-way power switch all the way down to OFF before starting any soldering or lead trimming!

3-WAY SWITCH: SET ALL THE WAY DOWN TO OFF USB (TOP) BATT (MID) OFF (BOT) OFF THIS ONE RIGHT HERE, OFFICER! ➔
Pro Tip: Its strongly recommended to never solder components or trim leads on a live powered board!
STEP 1 • AZIZ LIGHT!

SOLDER THE IR LED

The IR LED is polarized and only works in one direction. Align the legs before soldering. (See step 4 for location).

IRL THE LED GOES STRAIGHT IN + ROUND SQUARE LONG LEG (+) SHORT LEG (-)
Pro Tip: "That's right, the short leg goes into the Square Hole!" (Negative side short leg to square hole).
STEP 2 • RESIST!

SOLDER THE 120Ω RESISTOR

Insert the 120 Ω blue resistor leads into the through-hole pads next to the LED. (See step 4 for location).

R 120Ω RESISTOR ↔ EITHER DIRECTION IS OK
Pro Tip: Resistors are non-polarized. You can solder it facing either direction!
STEP 3 • ACTIVATE!

BRIDGE THE 'X' JUMPER

Locate the jumper marked with an X on the front of the badge. Solder a bridge across the pads to activate the circuit!

FRONT JUMPER MARKED WITH 'X' X OPEN GAP BEFORE X BRIDGED PAD AFTER
Pro Tip: Bridging the X jumper activates the LED circuit for Laser Tag & CTF!
STEP 4 • CHECK PLEASE!

VERIFY FRONT ASSEMBLY

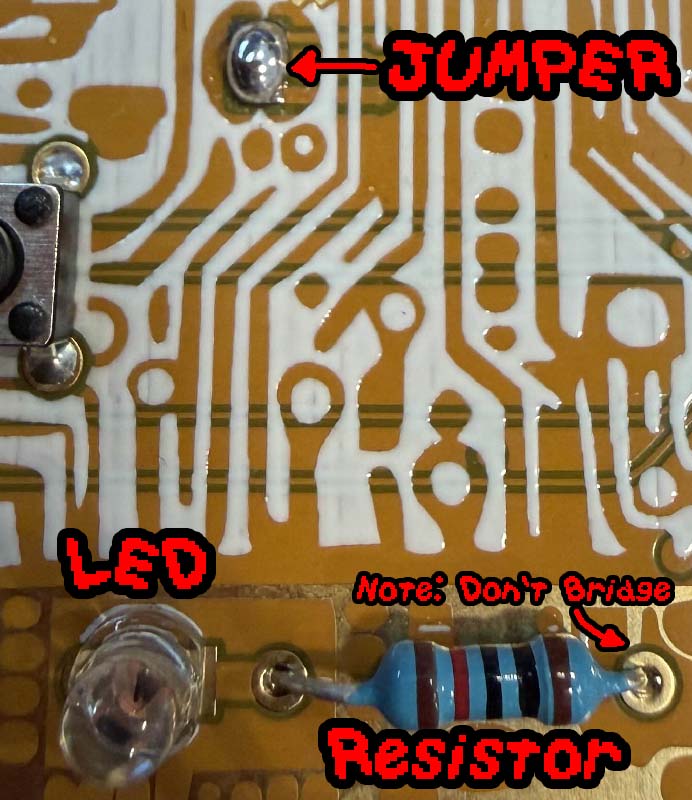
Compare your soldered front components against the reference photo below to ensure correct placement and solder joint quality:

Front of PCB: LED, Resistor, and Jumper
IMPORTANT: Ensure the solder pad on the right leg of the resistor does NOT bridge to the adjacent copper trace!
STEP 5 • SHAVE IT OFF!

TRIM COMPONENT LEADS & BUTTONS

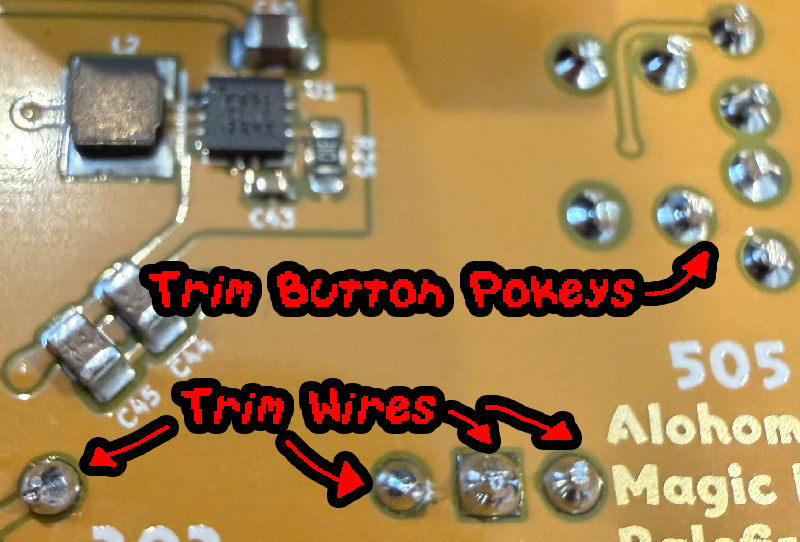
Use flush cutters on the back of the PCB to trim the 4 component leads (wires) flush. Optionally, trim the legs off the 6 buttons as well if they feel a tad pokey!

Back of PCB: Trimming 4 component wires and 6 button pokey legs
Trim the 4 component wires flush with the solder joints, and optionally snip the 6 button legs for a smooth back!

SAFETY TIP

"If you smell burned chicken, you are holding the wrong end of the soldering iron!" - Doug (A friend)